- +86-755-88868631/27659298
- aglare@aglare.com
- +86-755-88868631/27659298
- aglare@aglare.com
How to Repair a Damaged Amusement Light Housing
2024-09-29 13:56:15
Repairing a damaged amusement light housing usually requires some basic tools and materials, as well as a certain amount of manual skills. Here are some common steps and methods to help you repair a damaged amusement light housing:
1. Assess the damage
• Check the extent of the damage: First, carefully inspect the damage to the amusement light housing to determine whether it is a minor scratch, crack, or severe damage.
• Determine the repair method: Choose the appropriate repair method based on the extent of the damage. Minor scratches can be repaired by sanding and painting, while cracks or damage may require more complex repairs.
2. Prepare tools and materials
Prepare the appropriate repair tools and materials based on the material of the lampshade and the extent of the damage. Common tools include screwdrivers, wrenches, pliers, sandpaper, brushes, etc.; materials may include repair fluid (for plastic or glass materials), tape, glue, cloth or plastic sheets, etc.
3. Disassemble the lamp
• Turn off the power: Before starting any work, make sure the amusement light is powered off and the power is turned off.
• Disassemble the housing: Use tools such as screwdrivers and wrenches to carefully disassemble the lamp housing. Note the position of each component for later reinstallation.
4. Clean the shell
• Remove dirt: Use a cleaner and a small brush to remove dust, dirt and other impurities from the shell.
• Dry: Wipe the shell dry with a clean cloth to ensure that the surface is dry and free of water.
5. Repair damage For minor scratches
• Sanding: Use fine sandpaper to lightly sand the scratched area until the scratch is no longer noticeable.
• Primer: Apply a layer of primer to the sanded area and wait for it to dry.
• Paint: Use a paint that matches the original shell color for spraying or brushing to ensure an even coating.
For cracks
• Clean cracks: Use a small brush and cleaner to clean dust and impurities from the cracks.
• Fill cracks: Use epoxy resin or plastic repair compound to fill cracks. Mix the repair compound according to the product instructions, then use a scraper to fill it into the crack, making sure it is filled and flat.
• Curing: Allow the repair compound to cure completely, which usually takes a few hours to a day.
For severe damage
• Welding: If the shell is made of plastic, you can use a heat gun and plastic welding rod for welding. After heating the welding rod, slowly weld along the damaged edge to ensure a firm joint.
•Fill the gap: For larger gaps, you can use putty (filler) to fill. Apply the putty to the gap, smooth it with a scraper, and wait for it to dry.
•Sanding: Use sandpaper to sand the filled area to make it smooth.
•Primer and paint: Apply primer to the sanded area, wait for it to dry, and then apply paint that matches the original shell color.
6. Reassemble the lamp
•Install the shell: Reinstall the repaired shell to the lamp, making sure all screws and connectors are secure.
•Test: Reconnect the power supply and test whether the lamp is working properly to ensure that there is no leakage or other safety hazards.
7. Precautions
•Safety first: When performing any repair work, always make sure that the power is turned off to avoid the risk of electric shock.
•Wear protective equipment: When using sanding paper and chemical materials, wear gloves and goggles to protect your skin and eyes.
•Follow product instructions: When using repair agents and paints, read the product instructions carefully and follow the instructions.
• Professional repair: If the damage is very serious or you are not sure how to repair it, it is recommended to contact a professional repairman to handle it.
By following the above steps, you can effectively repair the damaged amusement light housing. The specific steps to repair the damaged amusement light housing may vary depending on the material of the housing, the degree of damage, and the available repair materials. If you are unsure or inexperienced about some steps, it is recommended to seek help from a professional to ensure the effectiveness and safety of the repair.
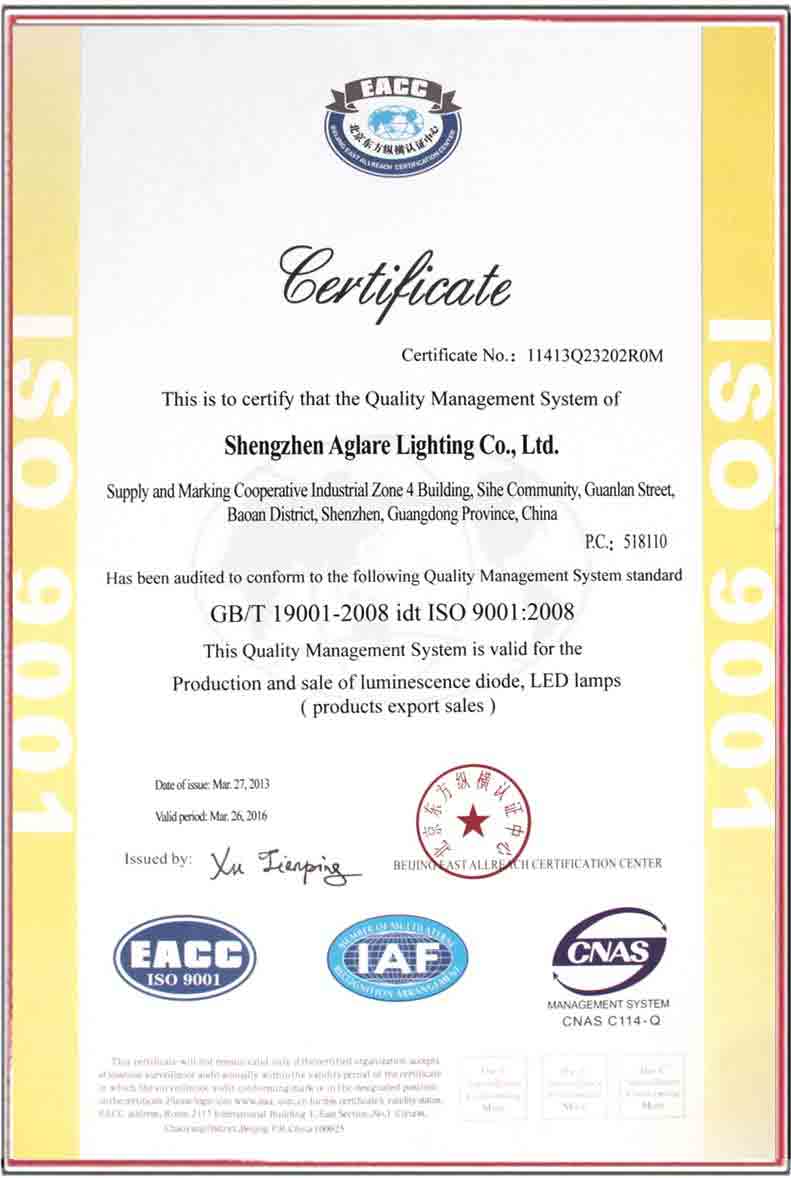
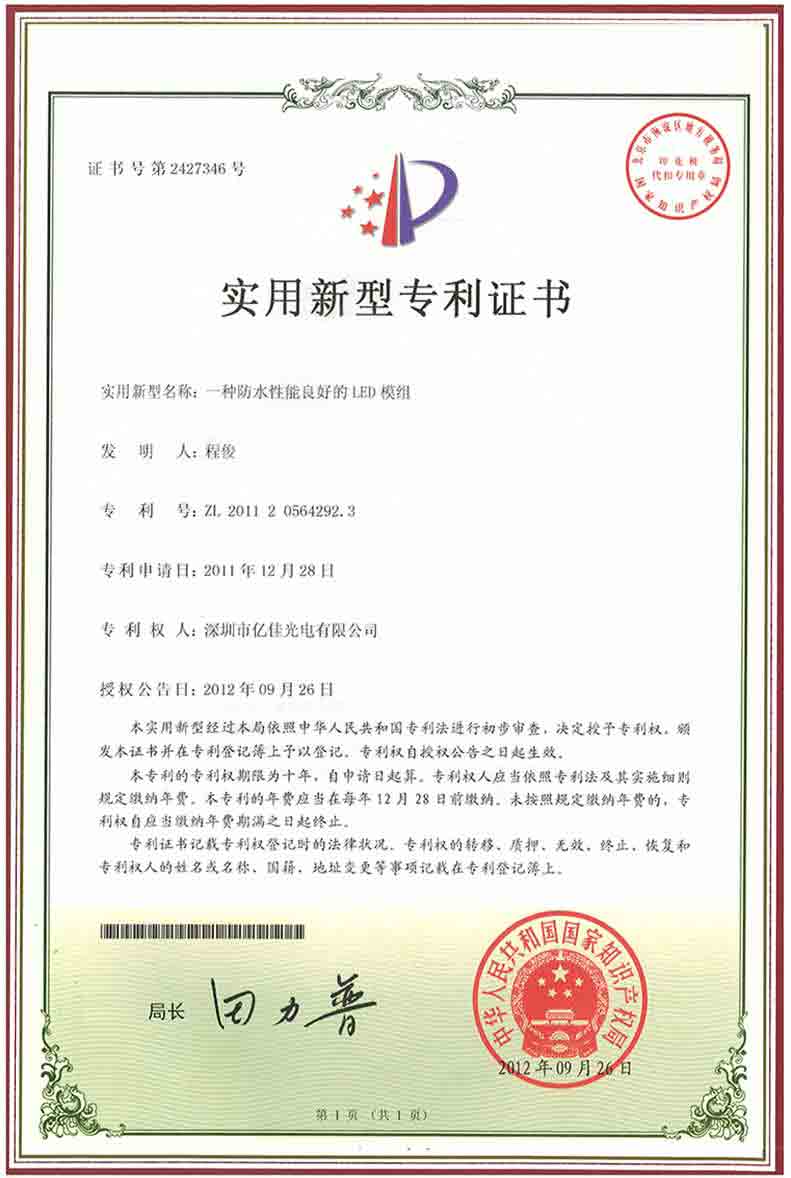
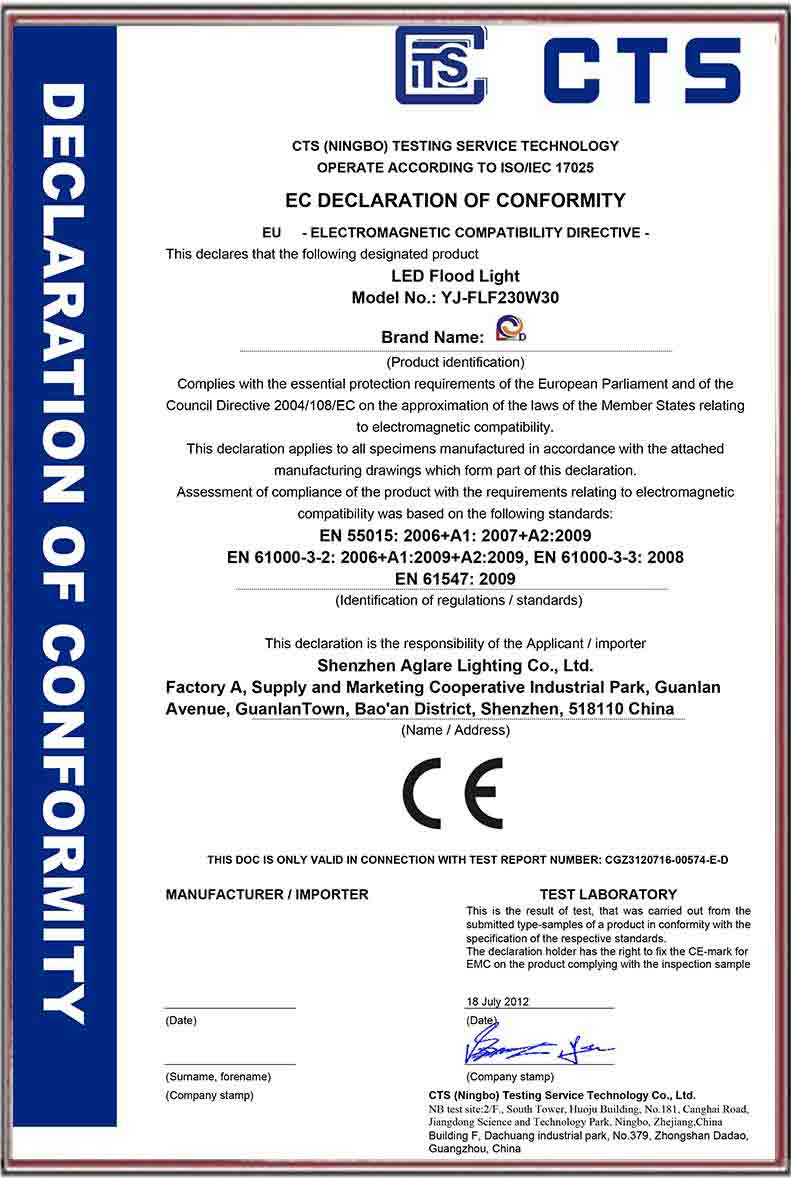
Certification


Aglare Lighting Co., Ltd. was established on January 25th, 2005, which is a LED manufacturer for LED floodlights, fairground lights,cabochon lights,RGB LED flood Light, LED High Bay Light, Cob led strip lights,UFO LED High Bay light and other outdoor lighting products.

.jpg)
.jpg)
.jpg)
